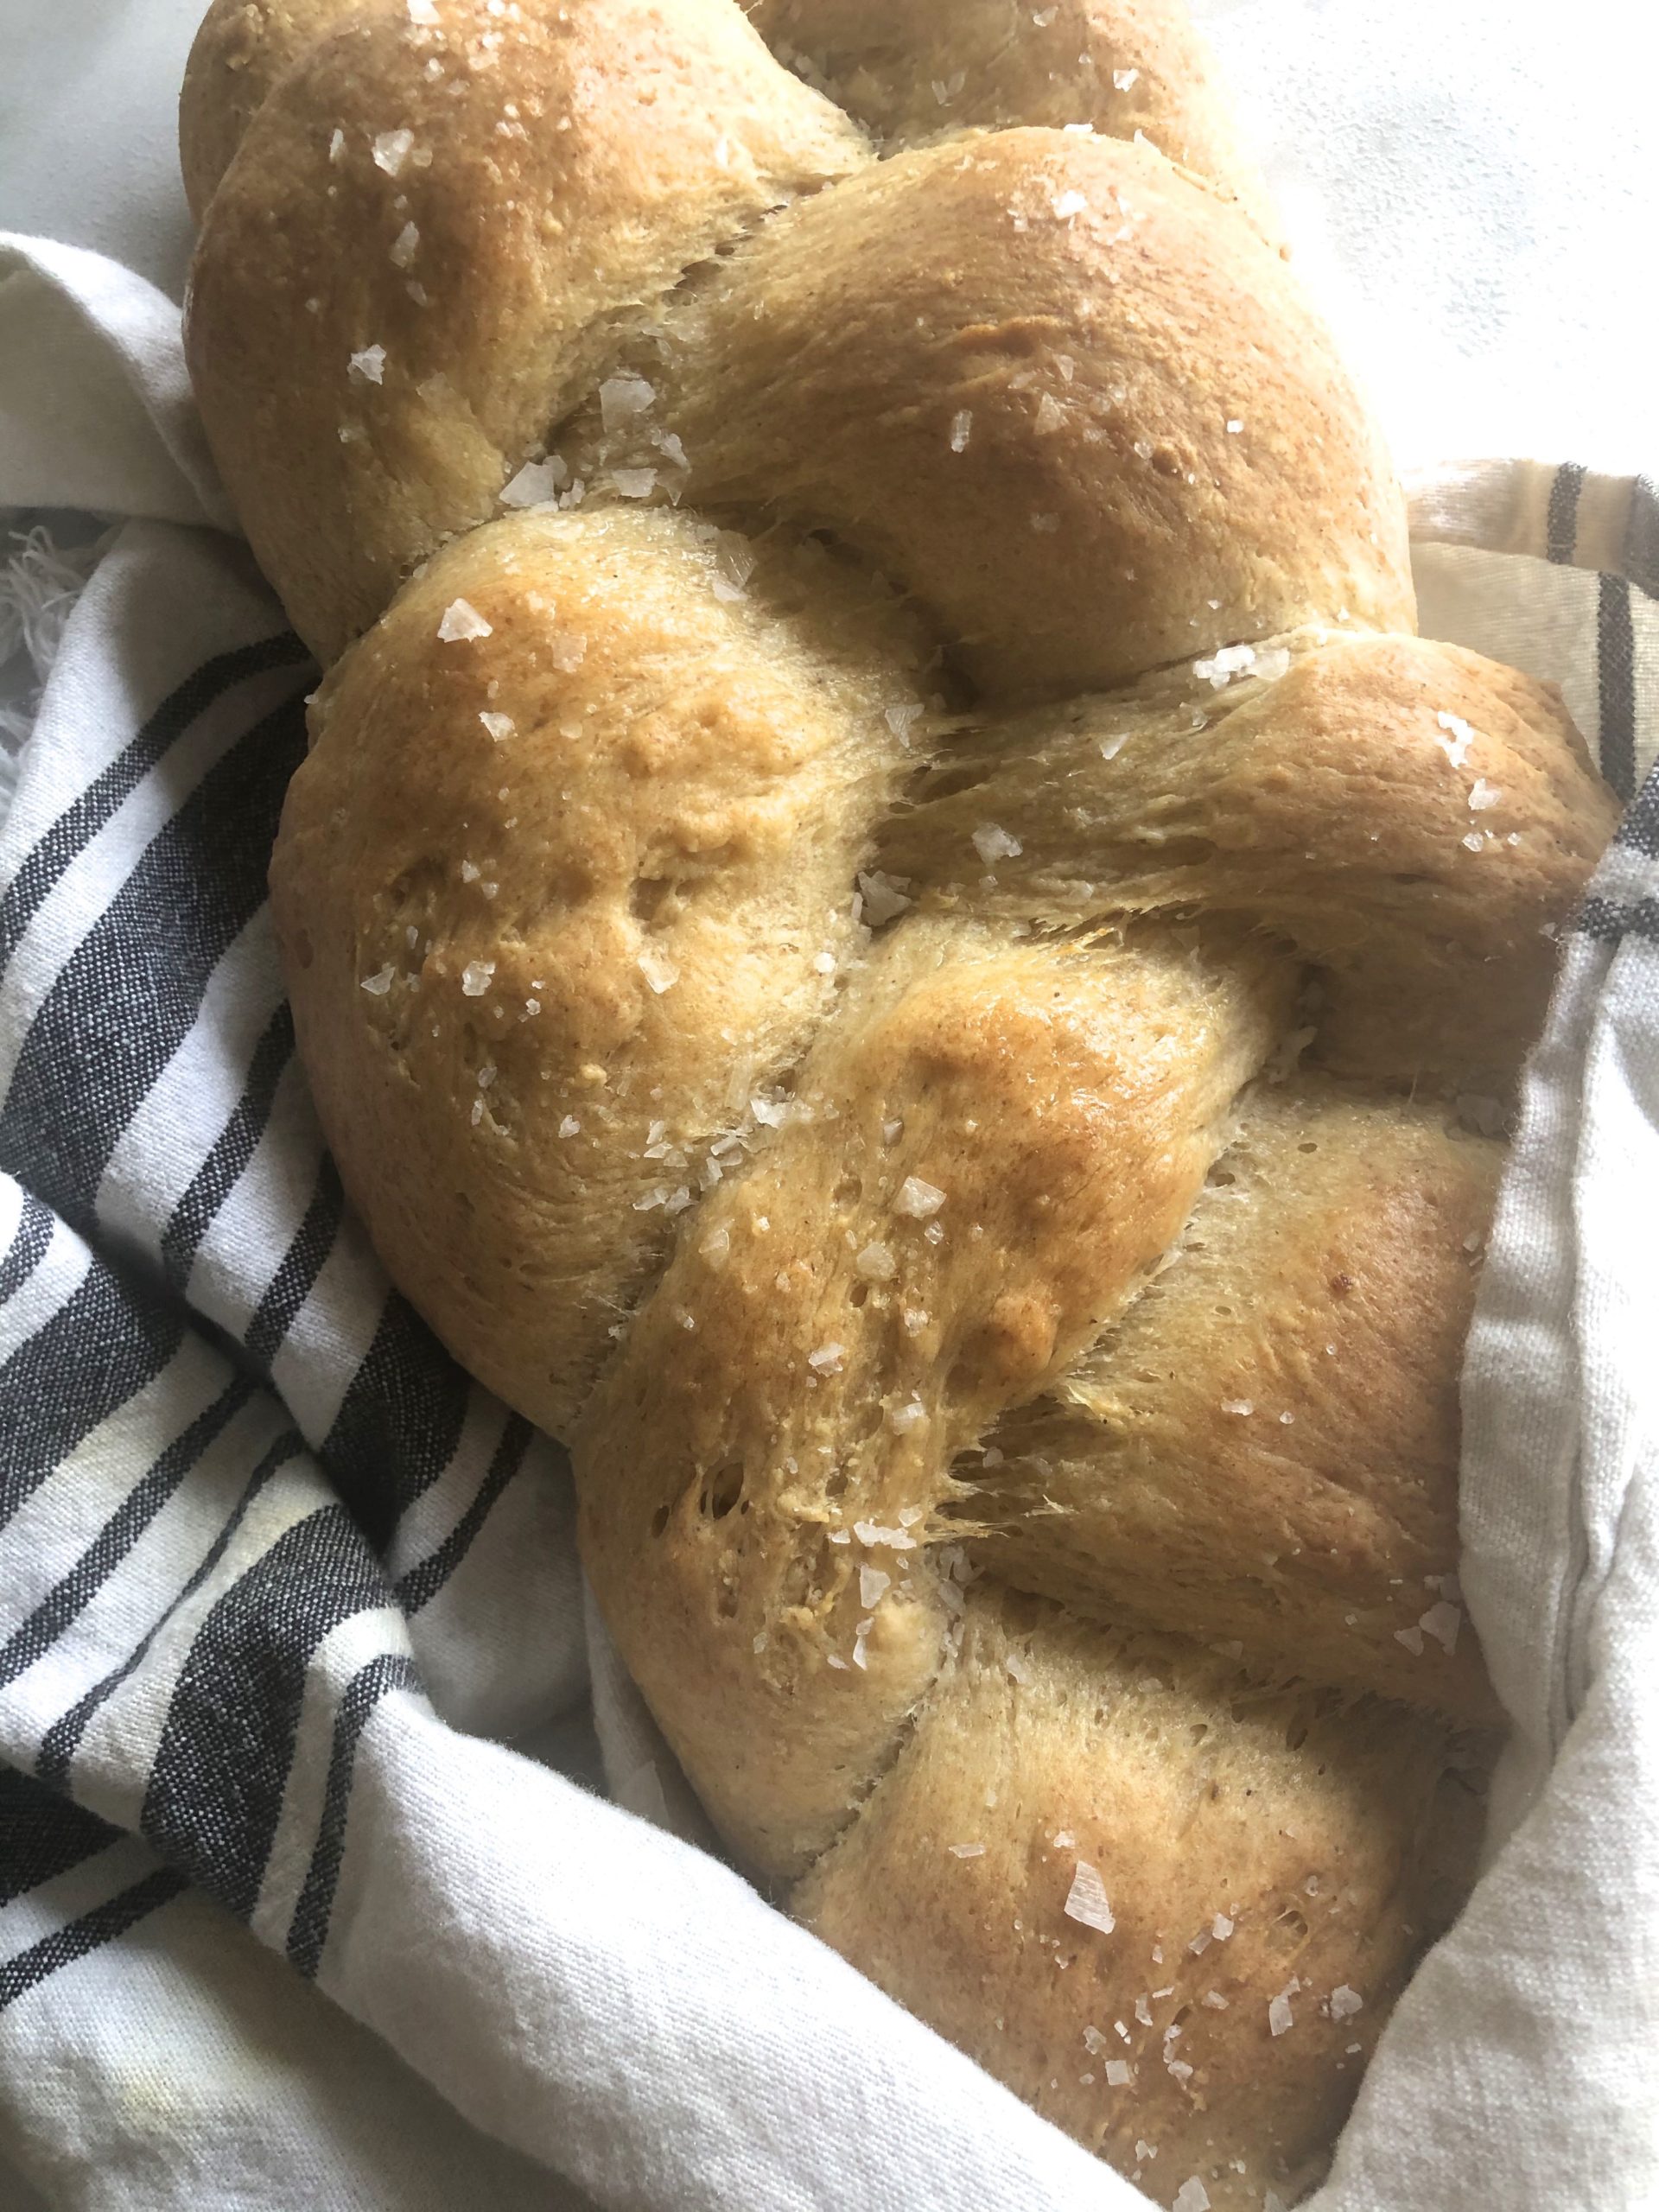
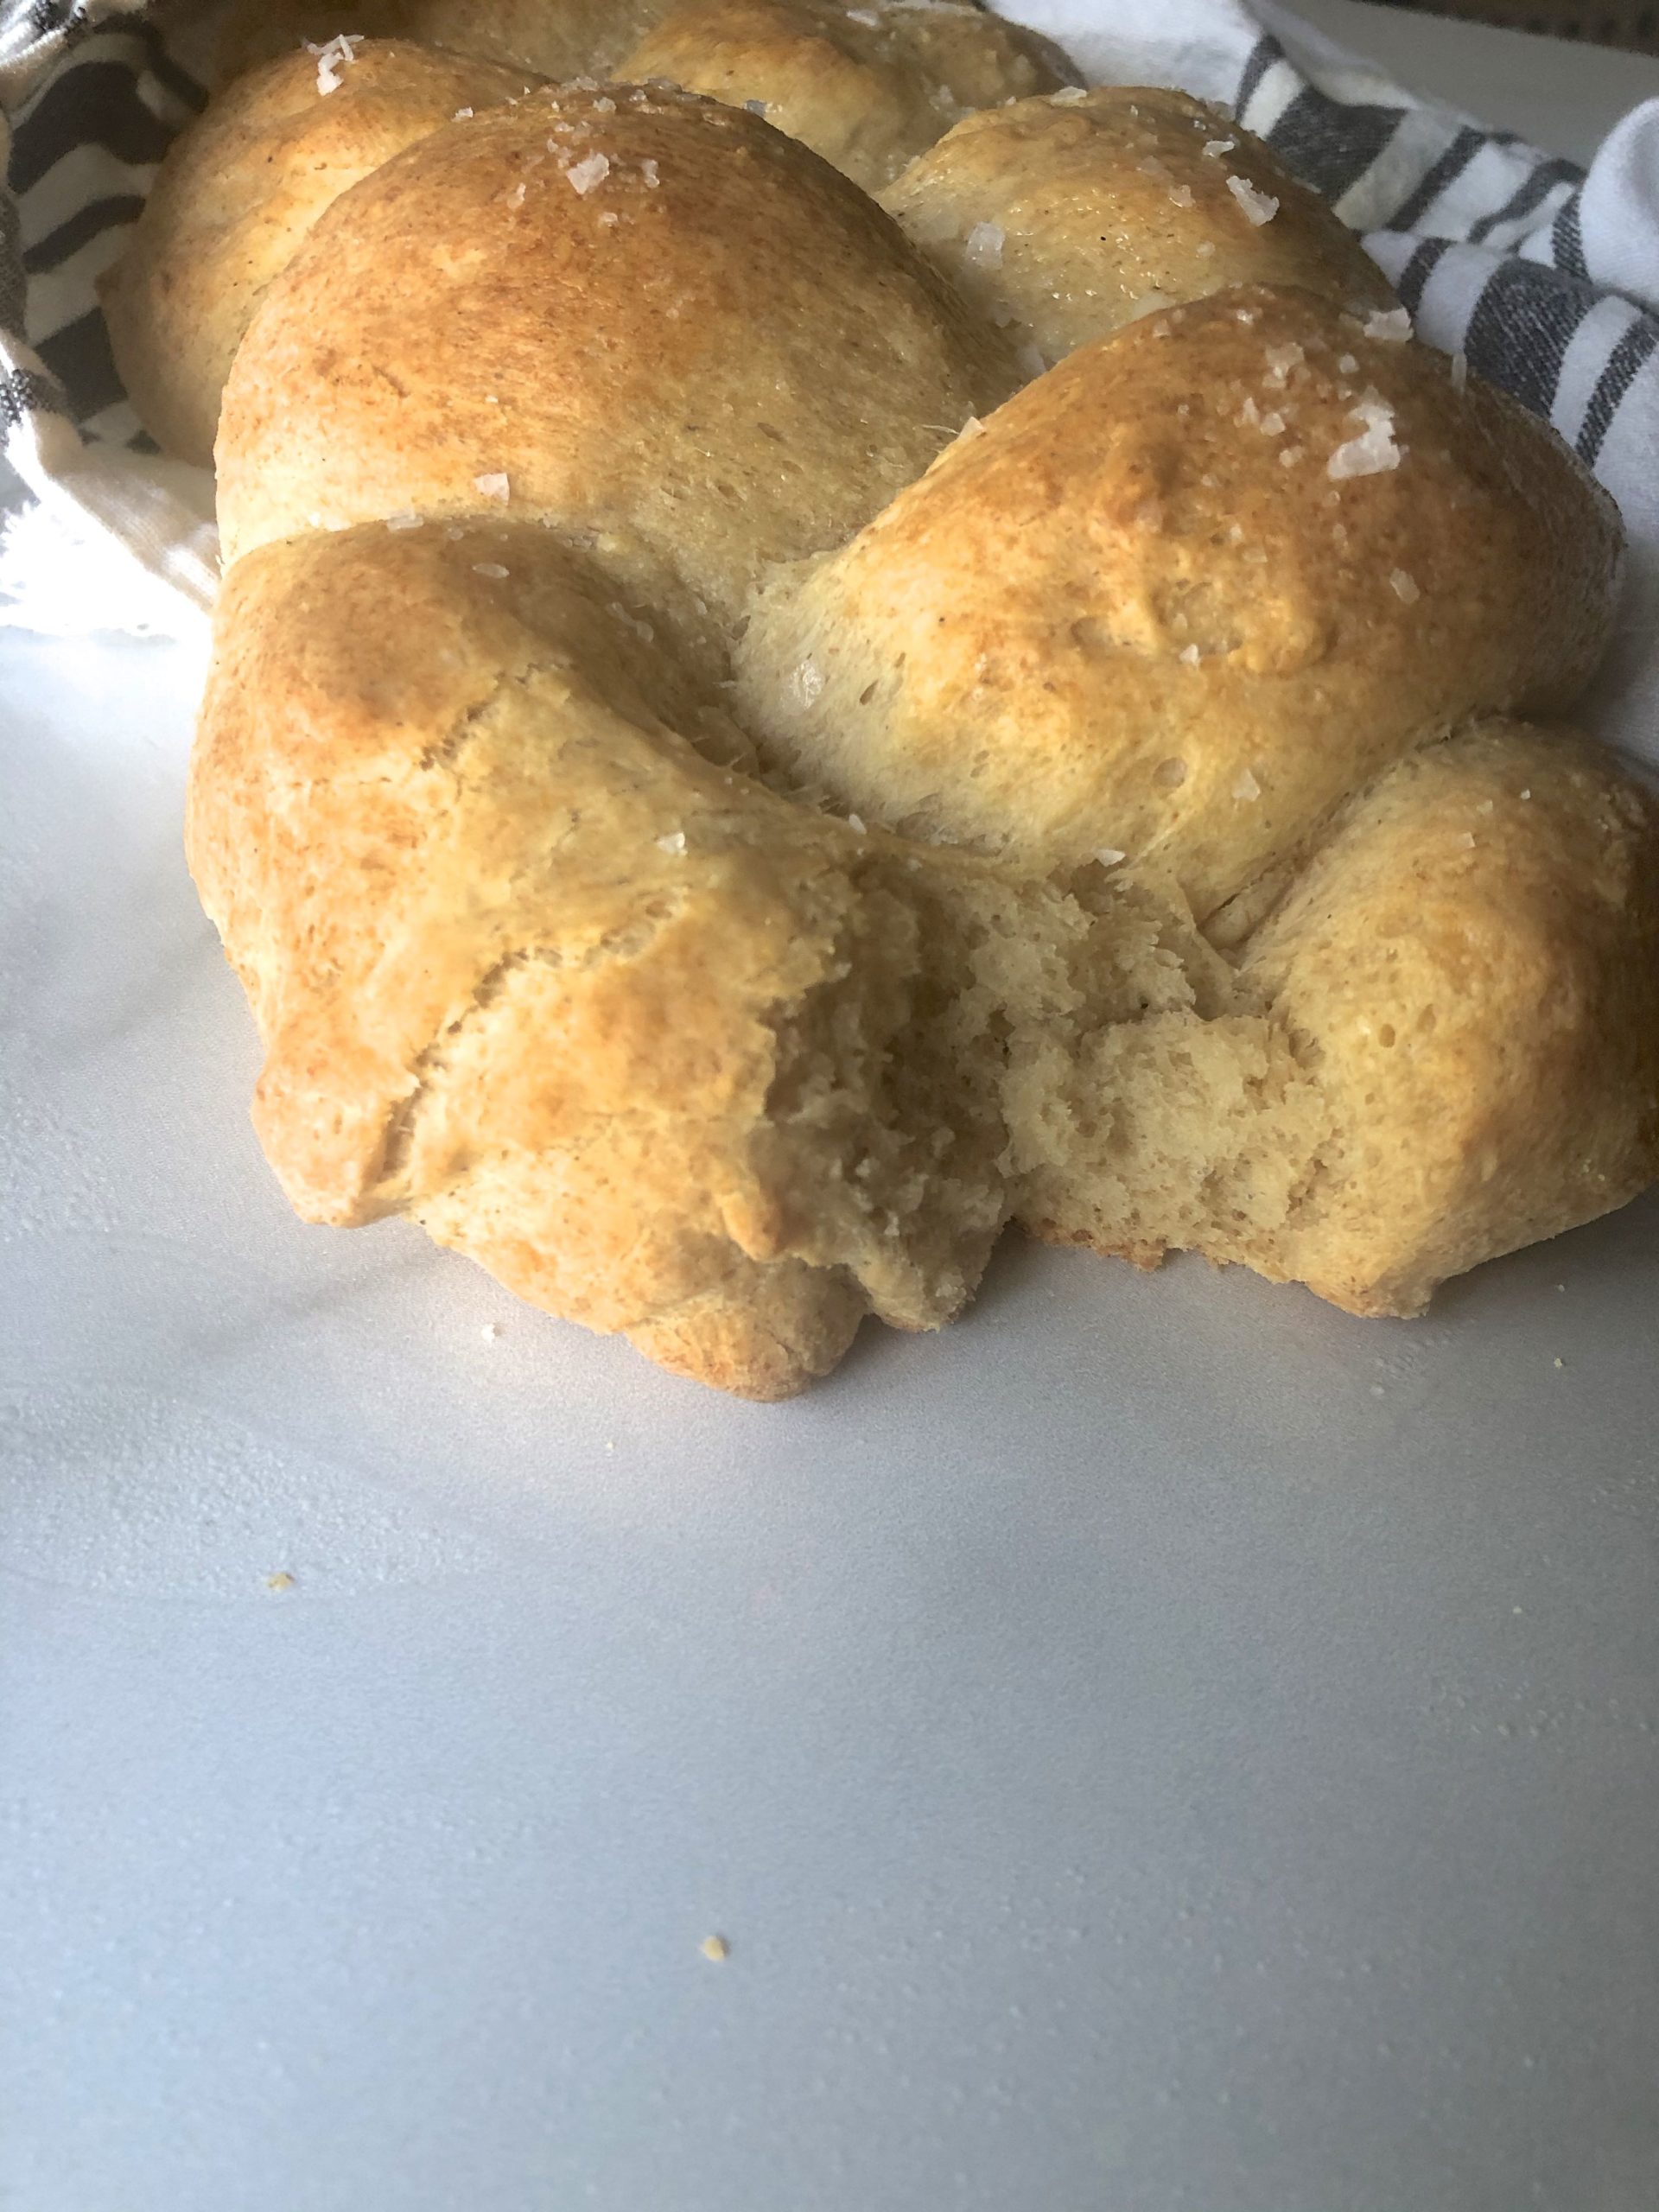
The most authentic loaf of challah this side of wheat. My new Grain Free Braided Challah is outrageously delicious and the crumb is beyond.
 Over the holiday break, I spent lots of time in the kitchen of our cabin rental wanting to perfect this braided challah loaf. It was not enough to just have grain free bread for Jewish holidays, oh no. I wanted it to be real deal and dare I say, phenomenal.
As you know, baking in the paleo world is a little sketch. It’s hit or miss sometimes and the smallest variations can make quite the conundrum. That’s why it is often necessary to make and remake and rebake again in order to get things just right. I mean after all, I own a paleo bread company [3] for crying out loud, I can’t just release ANY bread recipe. It’s got to be legit. <wink wink>
So after I finally nailed it in the Blue Ridge Mountains, all I had to do was come home and replicate it. And then real life happened. And then my camera broke. And then Stella’s birthday needed celebrating. Not to mention my budding (ok full blown) social calendar here. It’s just a lot sometimes.
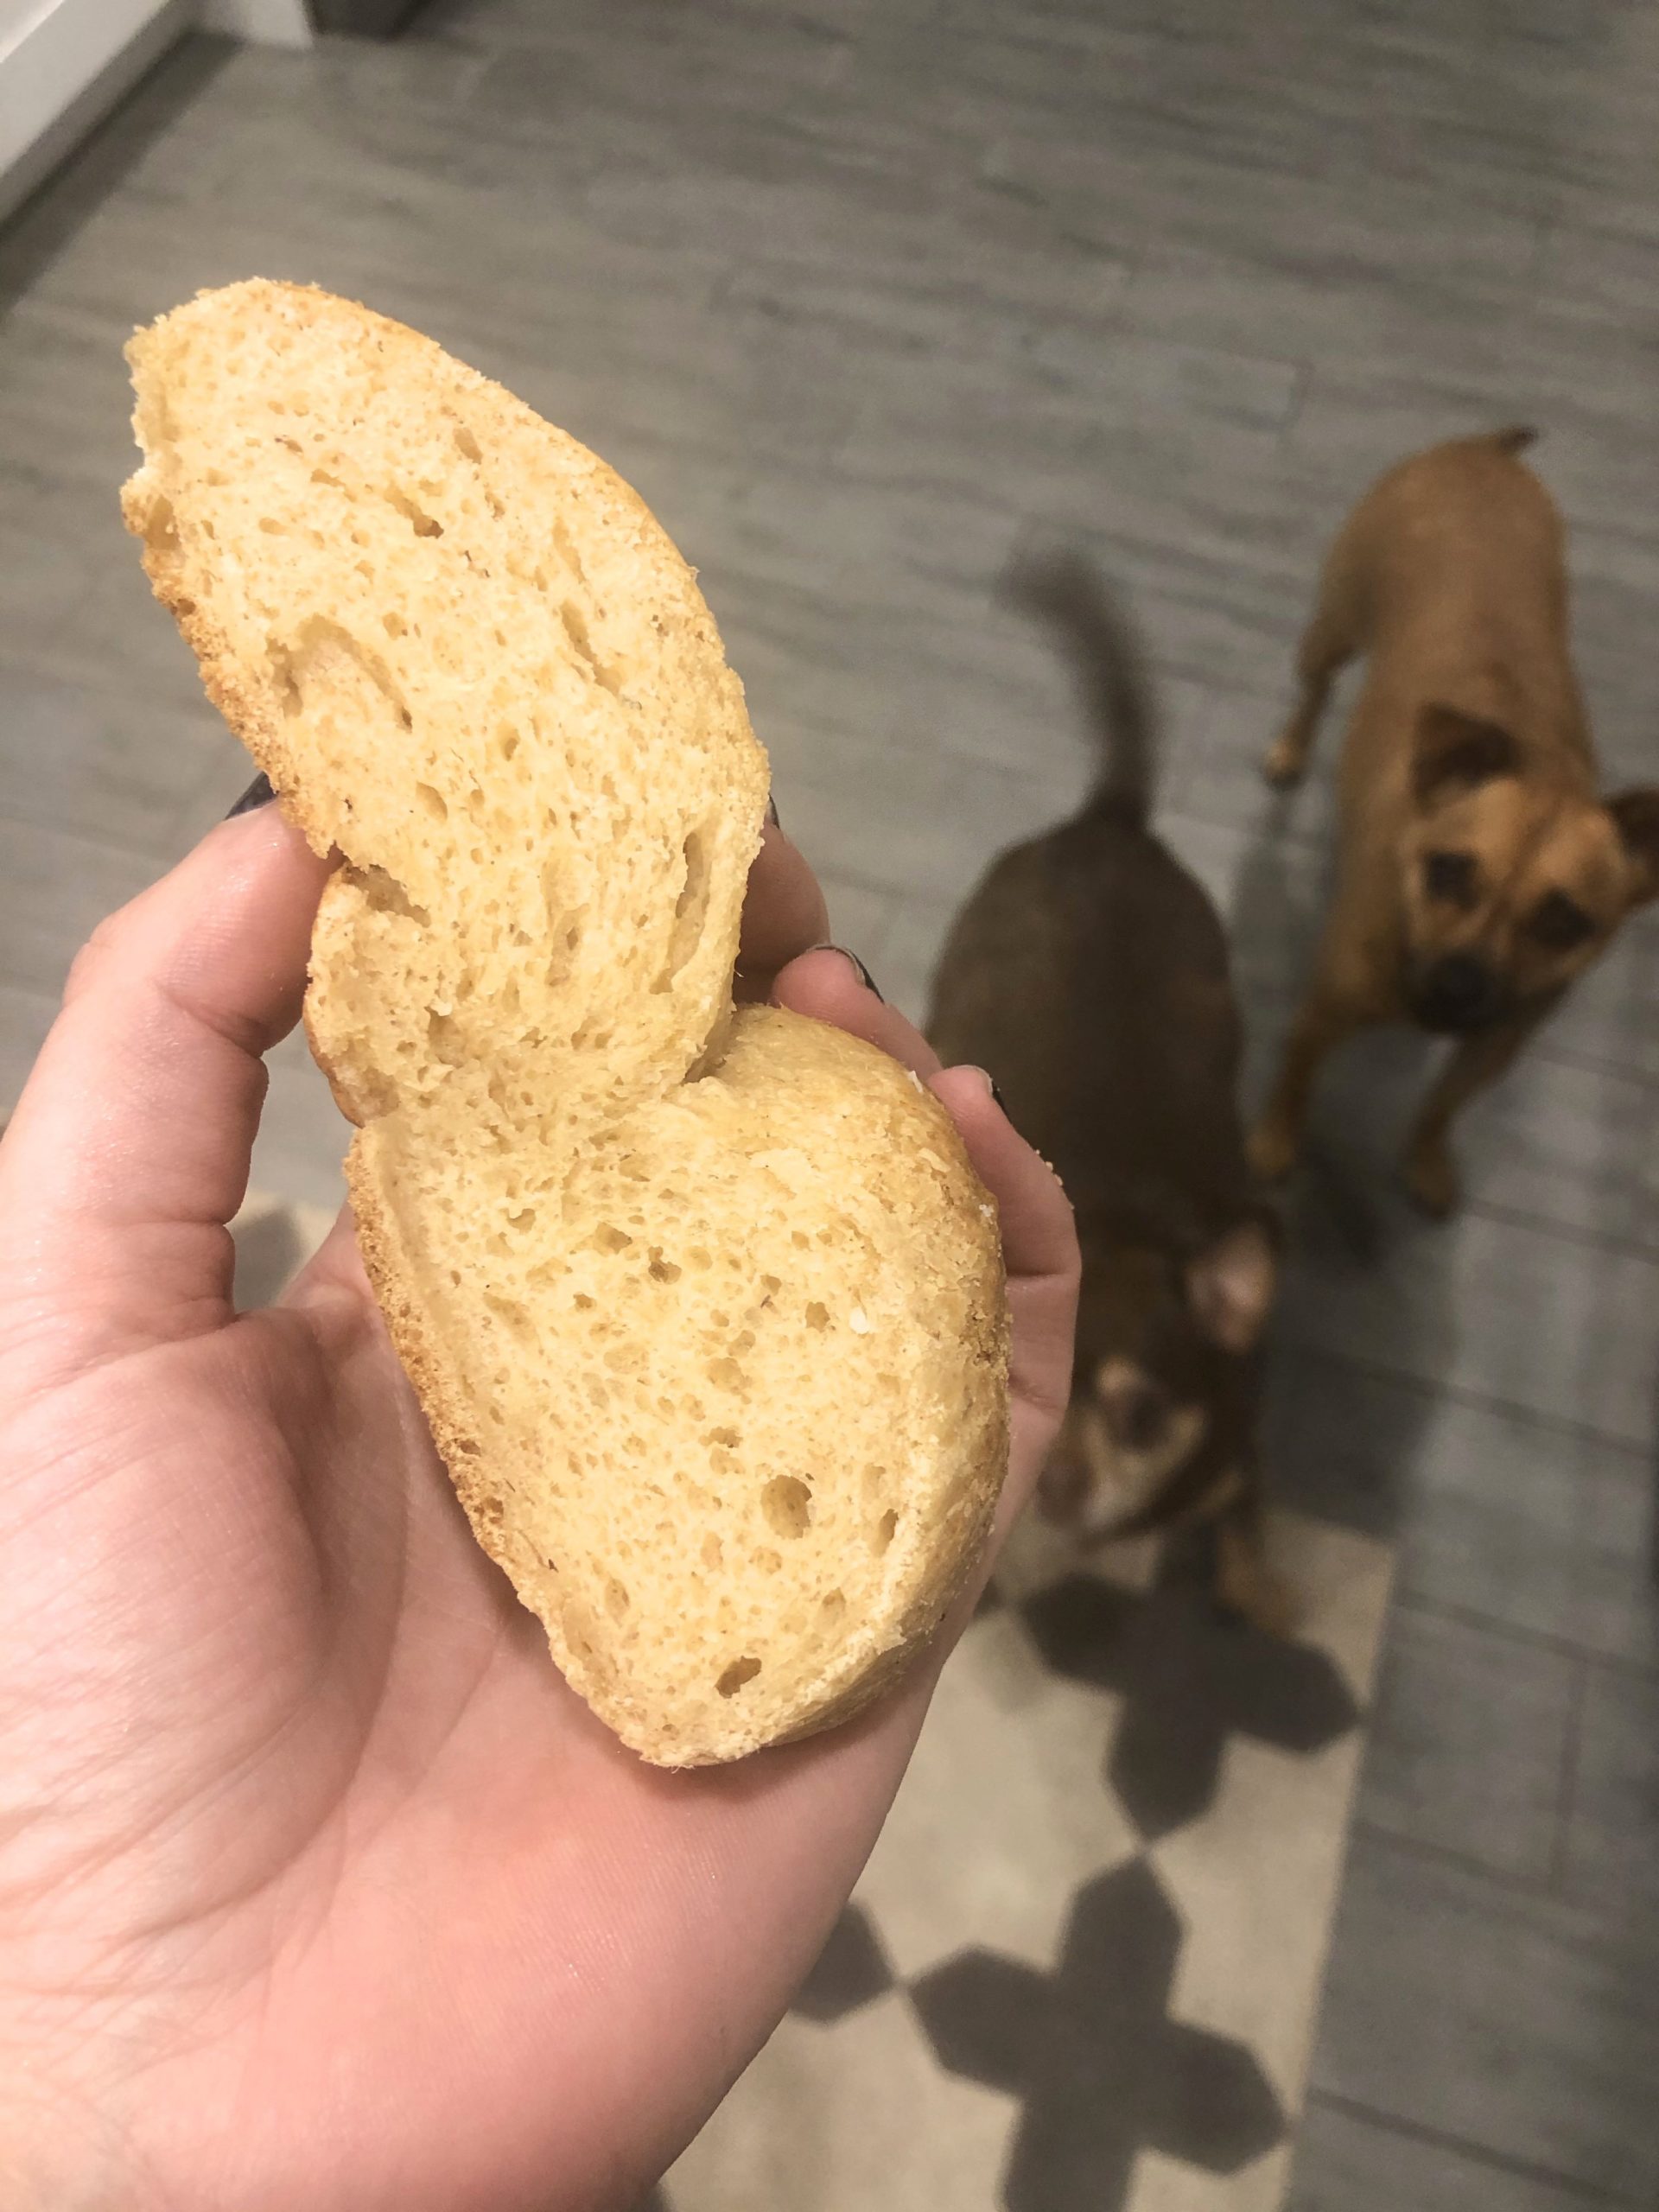
But I’m back. Challah if you hear me. And today’s 2nd loaf was beyond. It was tender and delicious and with a little smear of vegan butter, it was downright heaven. So I’m posting the recipe but also, pay attention to the tips below. Braiding grain free challah is a finicky situation so I recommend working slowly and playing with the dough until it feels and looks right.
Grain Free Braided Challah
Ingredients
- 1/4 cup maple syrup
- 1/2 cup warm water
- 2 packets quick rise yeast
- 3 eggs, room temperature
- 3 tablespoons olive oil
- 1/2 teaspoon sea salt
- 1 tablespoon apple cider vinegar
- 3 tablespoons psyllium husk powder
- 1 cup potato starch
- 1.25 cups tapioca starch
- Spray ghee or coconut oil
- Flaky sea salt (to garnish)
Instructions
- Start by combining the warm water and maple syrup. If your maple syrup is cold from the fridge, warm it just slightly.
- Stir in the active yeast into the maple/water mixture and set aside for at least 10 minutes or until it is activated and frothy
- While the yeast proofs, combine the flours, sea salt and psyllium husk powder in a separate bowl. Do not add any wet ingredients YET
- In a 3rd bowl, combine the eggs, apple cider vinegar, and oil
- Once the yeast has bloomed, combine the mixture with the egg/oil mixture
- Whisk them together thoroughly
- Then pour wet ingredients into the dry starch mixture and stir QUICKLY
- The starches will start absorbing the liquid quickly and there will be lumps so the quicker you stir the easier will be to smooth the dough
- Once smooth, cover the bowl and set aside in a warm spot to let the dough rise. You will let it rise twice.
- The first rise is 30 minutes. After 30 minutes has passed, “punch” the dough down in its bowl and cover it once more
- The 2nd rise is 1 hour. Make sure to cover your bowl as the dough can dry out (don’t worry there’s a remedy to this if it does)
- After the second rise, divide the dough into 3 equal parts. Spray each part with the oil spray or liberally oil your hands and coat the dough pieces manually
- Preheat your oven to 350F
- Roll each one out into a foot long “snake” shaped piece.
- If a piece starts to crack or isn’t smooth, use oil to piece it together and smooth the cracks. This will help the end result if you take the time to smooth the dough pieces
- On a large oiled cookie sheet, begin to assemble your braid. Do this by pressing together the ends of all 3 dough segments.
- Now begin your braid. If you need a tutorial, this [4] will help. Work slowly, again, since the dough lacks gluten, it will not braid quickly and could break off if you move too quickly.
- Once you reach the end of the braid, pinch the ends together once more. If at any point you need more oil to “mend” the braid segments, use it.
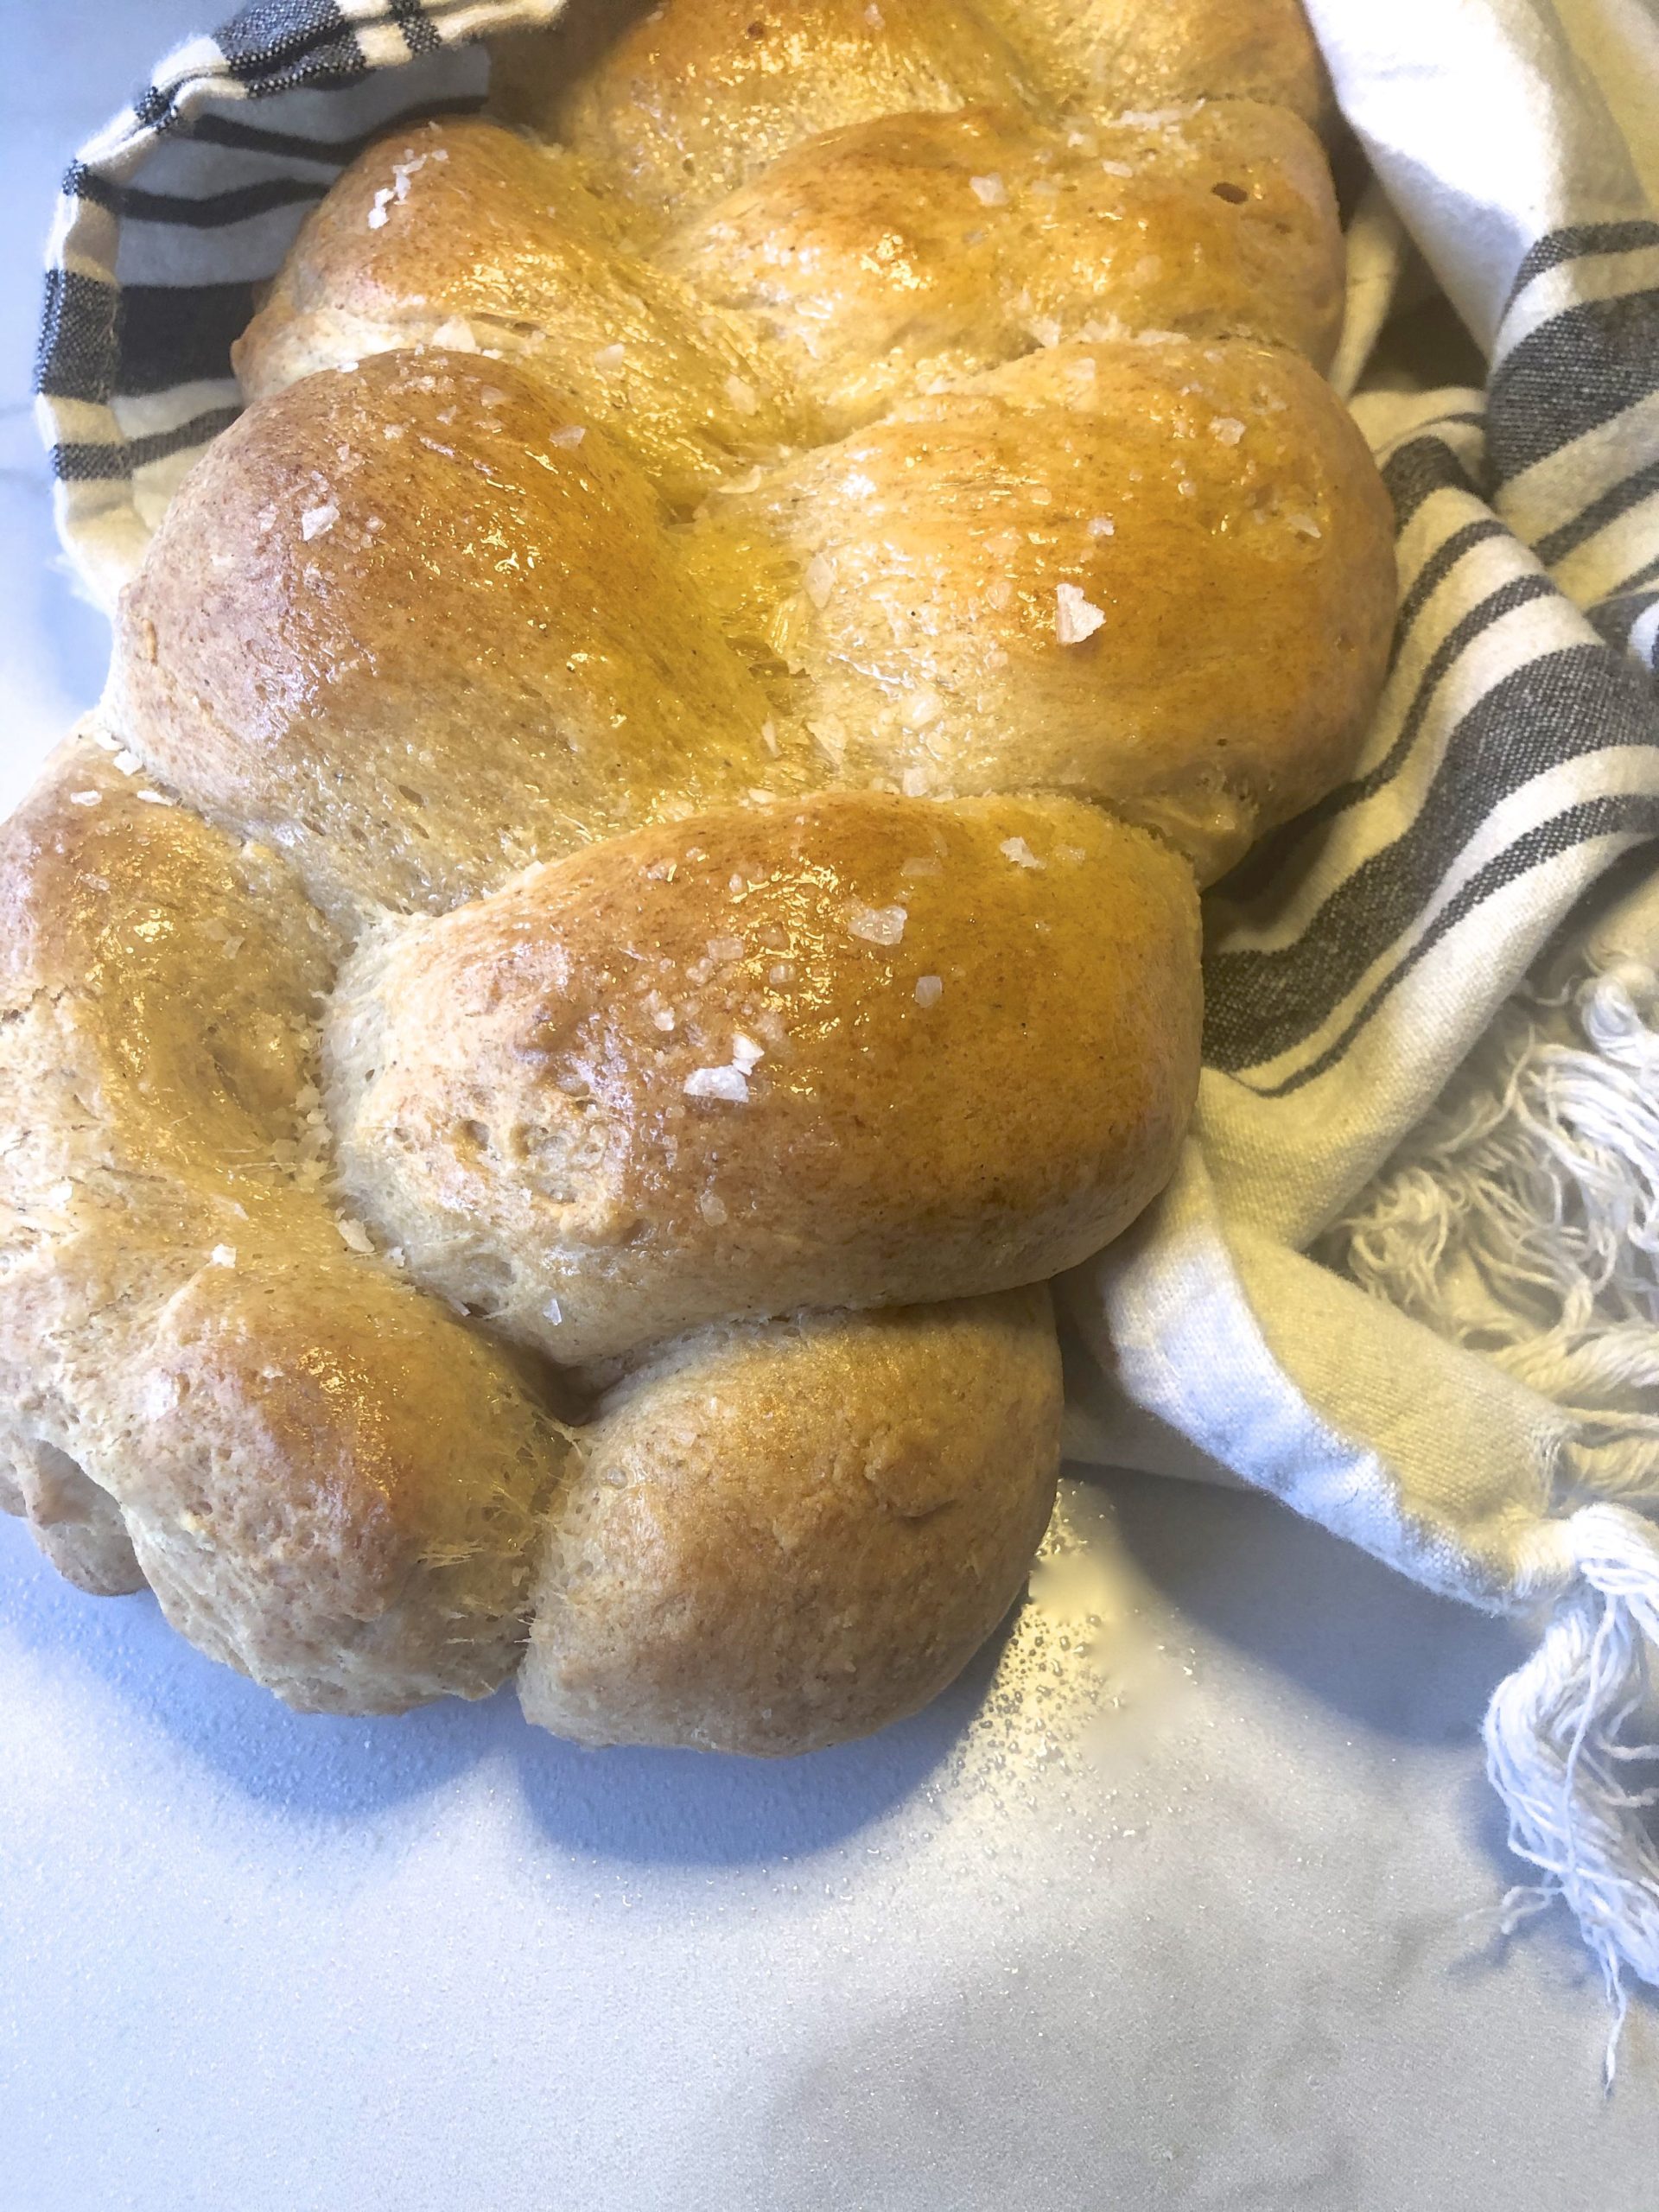
- Now bake your loaf for 25 minutes, removing it from the oven and then topping it with flaky sea salt if desired.
Notes
- If your yeast does not bloom, toss it and start again. It should bubble and increase in volume significantly. If it doesn’t, the yeast is either dead or the water may be too hot
- Letting the dough rise twice helps to increase even more air within it. This will help the texture. It will work without the 2nd rise, but it’s even better with it.
- Proofing the dough (letting it rise) in a warm spot will help the yeast activate even more. In a cold area, it will be harder to get the same results.
- Use the ghee spray or oil your hands liberally when you divide the dough. The oil helps seal the outside of the each segment and improves the texture as well as prevents it from getting too crumbly
- Work with the dough slowly. It is not like gluten containing dough. It is slightly more fragile and will break if you rush the process
- You can also use an egg wash but I prefer the spray oil.
- Challah is best same day as made. It will harden quickly if you make it ahead. If you do make ahead the same day as needed, keep it wrapped air tight and warm before serving. It will work well for next day french toast but less well as regular challah.
- If your dough seems too wet to roll, sprinkle little bits of tapioca starch at a time until it becomes more workable
Find it online: https://predominantlypaleo.com/grain-free-braided-challah/ [5]
 [6]
[6]